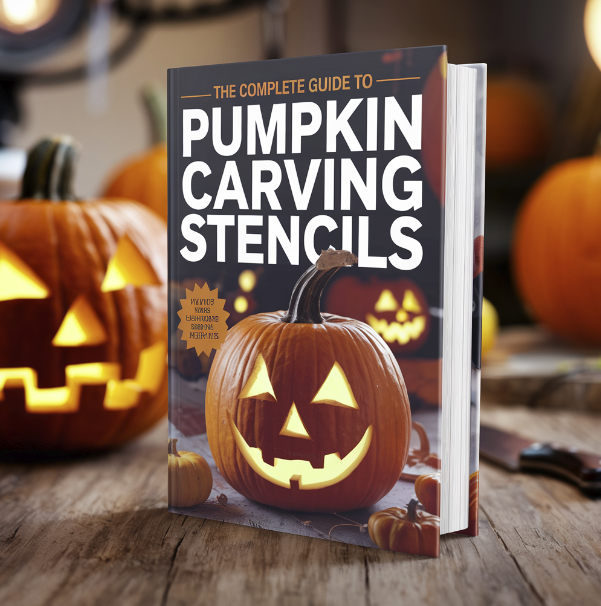
Introduction: Why You Need Pumpkin Carving Stencils
Pumpkin carving is a quintessential Halloween tradition, and each year people look for new ways to outdo their previous designs. Whether you’re a seasoned pumpkin carver or a beginner, using pumpkin carving stencils can elevate your carvings and make the process easier. Stencils offer an easy-to-follow pattern, ensuring that your pumpkins turn out just how you envision them—whether it’s a spooky face or a complex design.
Types of Pumpkin Carving Stencils
There are countless pumpkin carving stencils available online, each serving different purposes based on skill level and design complexity. Here are the main types:
1. Free vs. Paid Stencils
Free stencils are widely available online, providing a cost-effective way to carve a beautiful pumpkin. Websites like Pumpkin Lady and Pumpkin Pile offer an extensive collection of free designs. On the other hand, paid stencils often provide more intricate and unique patterns that can really make your pumpkin stand out. Artists on platforms like Etsy offer premium, downloadable stencil packs.
2. Simple vs. Intricate Designs
For beginners, simple stencils are the best option. These patterns usually feature bold lines and basic shapes like ghosts, smiling faces, and bats. More experienced carvers can opt for intricate designs, which may include layered carvings, shading techniques, and multi-piece stencils.
3. Printable vs. Reusable Stencils
Printable stencils are easy to access and offer a wide variety of designs. Simply download, print, and apply the stencil to your pumpkin. Reusable stencils, typically made from plastic or metal, can be a good investment if you plan to carve multiple pumpkins over several years.
Step-by-Step Guide to Using Pumpkin Carving Stencils
Carving a pumpkin with a stencil may seem tricky, but it’s a straightforward process when broken down into simple steps.

1. Gather Your Materials
You’ll need:
- A stencil
- Carving tools (saws, pokers, and scrapers)
- Tape or pins to attach the stencil
- A pumpkin of your choice
2. Prepare Your Pumpkin
Cut a circle around the stem of your pumpkin and remove the top. Scoop out the seeds and flesh, making sure to scrape the walls of the pumpkin until they’re about 1 inch thick.
3. Attach the Stencil
Position the stencil on your pumpkin and secure it with tape or push pins. For more detailed designs, use a pin or poker to create a series of small dots along the stencil lines. These will act as a guide when you start carving.
4. Start Carving
Using a small serrated saw, cut along the dotted lines. Take your time to avoid breaking or damaging the pumpkin, especially with more complex patterns.
5. Add Final Touches
Once you’ve finished carving, clean up any rough edges, and consider adding a candle or LED light inside to illuminate your design.
cream cheese pumpkin pie
URL: Cream Cheese Pumpkin Pie
Popular Pumpkin Carving Stencil Ideas
Looking for inspiration? Here are a few popular categories of pumpkin carving stencils to explore:
1. Classic Halloween Stencils
These designs include traditional Halloween images like:
- Jack-o’-lantern faces
- Witches
- Bats and cats
- Skeletons
2. Kid-Friendly Designs
For a family-friendly activity, consider easy-to-carve characters like:
- Smiley faces
- Cartoon animals
- Disney characters
3. Unique and Complex Stencils
If you want to go above and beyond, opt for intricate designs, including:
- Portraits of famous people
- Detailed nature scenes (animals, trees, etc.)
- Fantasy creatures like dragons and fairies
Where to Find the Best Pumpkin Carving Stencils
There are many resources where you can find quality pumpkin carving stencils, both free and paid. Some of the top options include:
1. Free Online Stencils
- Pumpkin Pile: Offers a huge collection of free, printable stencils ranging from simple to advanced designs.
2. Paid Stencils
- Etsy: Many independent artists sell unique and creative pumpkin stencils here.
- CarvingTools.com: A great resource for premium stencils and professional tools for advanced carvers.
FAQs: Common Questions About Pumpkin Carving Stencils
1. How do I make my carved pumpkin last longer? To extend the life of your pumpkin carving, rub the cut areas with petroleum jelly. It helps prevent the pumpkin from drying out and shriveling too quickly.
2. What’s the best tool for carving pumpkins? A pumpkin carving kit with saws, scrapers, and pokers will give you the best results. Avoid using kitchen knives, as they can be unsafe and imprecise.
3. Can I reuse pumpkin stencils? Printable stencils can be reused if you handle them carefully, but plastic or metal stencils are more durable and reusable over several seasons.
Final Tips for Perfect Pumpkin Carving
Here are some additional tips to ensure your pumpkin turns out great:
- Use the right tools: Invest in a pumpkin carving kit for better control and precision.
- Pick the right pumpkin: Choose one that’s large and smooth for easier carving.
- Take your time: Rushing the process can lead to mistakes, especially with detailed designs.
Incorporating pumpkin carving stencils into your Halloween tradition can help you create amazing Jack-o’-lanterns that will impress your neighbors and add a festive touch to your home. Whether you’re aiming for something simple or a professional-looking design, stencils make the process easier and more enjoyable.
